


I have a new pet: Sourdough!
Okay, maybe pet isn't the best analogy since every week I turn my sourdough into something delicious to eat, but I also have to carefully tend and feed it and keep it alive, so... A pet you leave in the fridge and enjoy for dinner. I still have A LOT to learn about sourdough baking, but I've already found some recipes and techniques that have worked great.
So just what is a sourdough, you ask? Great question. Sourdough baked goods--ranging from bread to crackers--are leavened with a bubbling, growing, living mixture of flour and water that has been matured over a couple of weeks. Some types of sourdoughs use a combination of this mature "starter" and yeast, but traditional sourdoughs use no added yeast.
You can make your own sourdough starter from scratch as I did using a Cooks Illustrated recipe, or you can buy one, like this one from King Arthur Flour.
Once your starter is mature, you simply follow the recipe instructions regarding feeding it prior to baking or, for weeks when you aren't planning to bake, you feed it to maintain it.
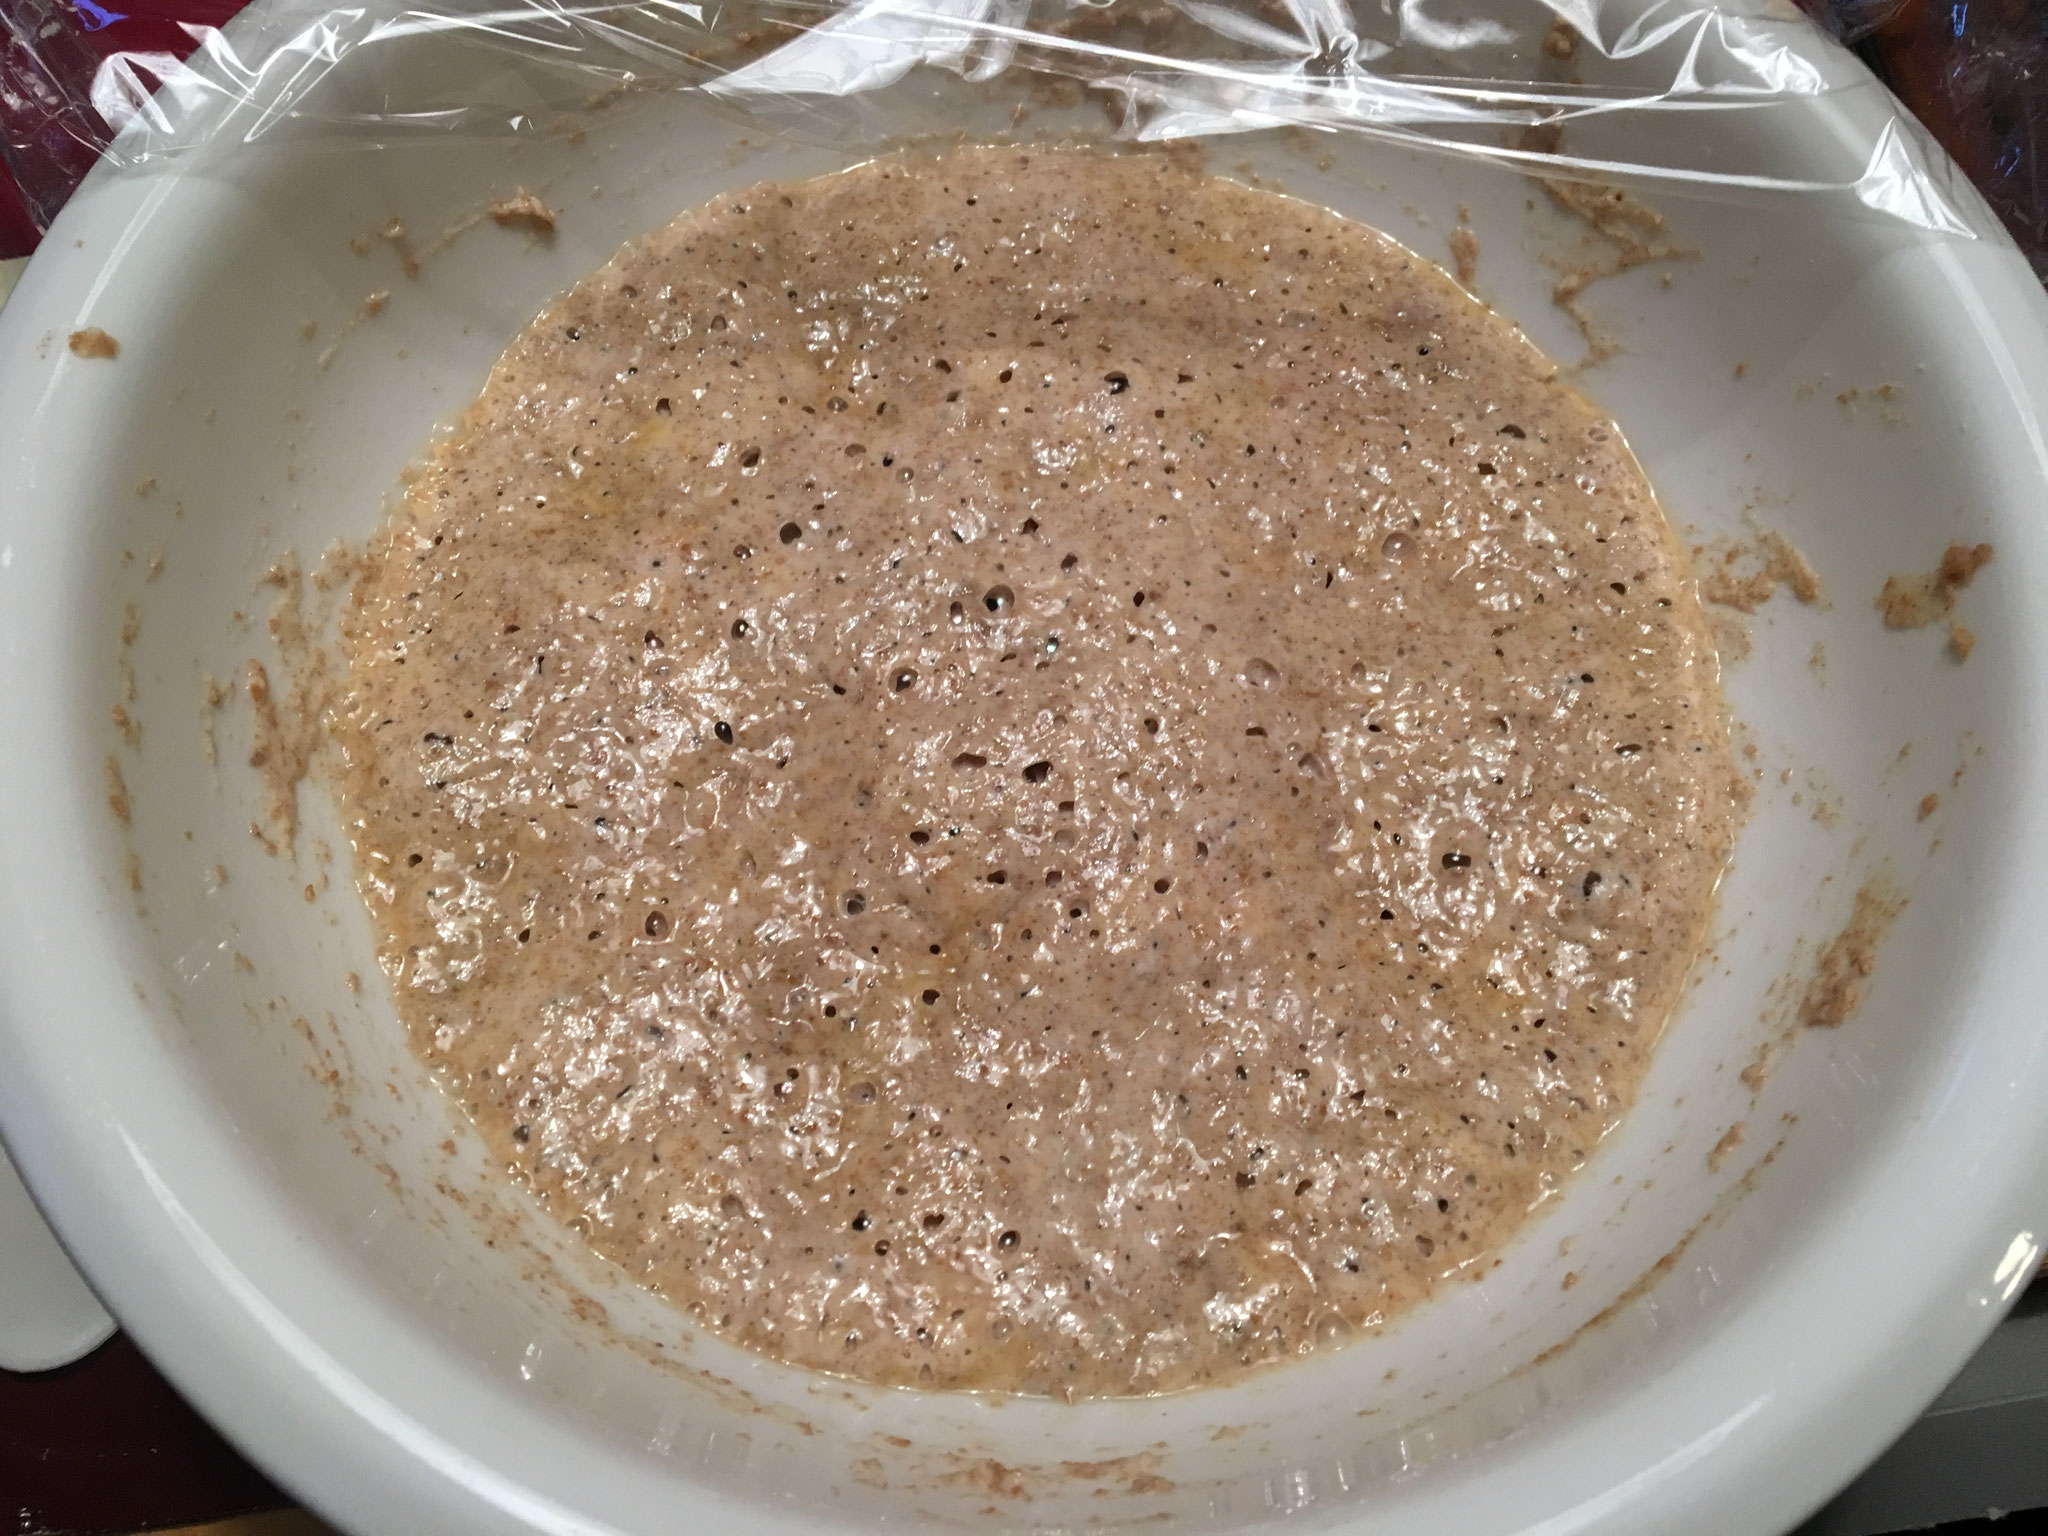
The recipe I use has a simple feeding method for maintenance:
- Measure out 2 oz. (1/4 c) maintained starter. Add 2.5 oz. (1/2 c) all purpose flour and 2 oz. (1/4 c) room temperature filtered water. Mix well, cover, leave at room temperature for 5 hours. Transfer for a storage container such as a wide mouth mason jar and keep in the fridge. Feed at least once a week.
When planning to bake, I increase the quantities above in order to have enough fed starter for baking as well as some left over to keep for next week.
One of the downsides of maintaining a starter is that there is almost always so excess or "discard" starter that you throw away when feeding your mixture. A solution to this is to seek recipes that call for "unfed" starter. So far I've used unfed starter to make fabulous soft pretzels and fantastic Belgian waffles.
For me the greatest challenge with sourdough is timing. You have to plan carefully backwards to feed your starter at the right time prior to baking so there's no such thing as an impulse bake with this type of dough, but if you stick to a schedule, you can make sourdough an easy part of your routine.
- My first essential tip for working with sourdough starter: Use a kitchen scale.
Mucking around with measuring cups with this sticky, gooey, goop is a nightmare and a mess to clean up. But using a wooden spoon, a silicone spatula, mixing bowls and a digital scale makes it easier.
I do store my starter in a wide mouth mason jar (16 oz). At first I didn't understand why anyone used jars with this sticky, messy mixture, but once I started using a scale instead of measuring cups, it started to make sense. I get it ready for storage in nice big bowls and then just pour what I'm saving into jars.
- My second essential tip: Don't over fill your mason jar and when screwing on the jar lid, invert the lid so that it is upside down under the metal cuff. This way if your starter grows in the fridge, it'll ooze out instead of breaking your jar. If you see it oozing, open the jar, discard some of the starter, and close it back up.
- My third essential tip: Wash your bowls, jars, and utensils immediately after using them. Starter turns into a cement-like substance if left to dry, and then good luck getting it off!
Sourdough Recipes To start With
I'm a huge fan of slow rise, no-knead bread. They are often cooked in a dutch over so they have a nice boule shape and hearty crust, and they are easy as can be. This recipe certainly is easy, and the crust is nice without being too thick.
As I mentioned, timing is always the trick. What I've done for this recipe is is this:
Thursday after work, I feed my starter. Per feeding instructions, I set aside the amount I plan to bake with and leave it in the fridge over night.
Friday after work, I prepare the dough and let it rise until Saturday morning.
Saturday morning I bake.
This is not a very useful recipe for weekdays if you work outside the home. That said, this week I realized you can prepare the bread through it's first rise, shape into a boule, and then refrigerate in a greased bowl, tightly covered, for several days until ready to bake, which makes weekday baking look a lot more possible. Still, though, from the minute you take it out of the fridge until it's ready to eat is AT LEAST 4.5 hours if not more like 5.5 to 6 hours, so still not a great weekday option.
I have two other issues with this recipe so far:
1. You have to use parchment paper in the dutch oven or the bread will stick. I make this often enough that I am going through parchment like crazy, and as a result, next week I'm trying a different recipe that doesn't require parchment.
2. The crumb ends up being very wet. A moist loaf is nice, but this recipe can lead to very chewy bread. Although it reaches the proper temperature (so says my trusty thermapen) and the outside is dark enough that I dare not cook it any longer, sometimes the inside feels not quite done.
Next week I'm going to try this recipe from the NYTimes that follows the same basic cooking method I use for my regular no knead bread. I'll let you know how it goes!
This is a great way to use up "discard" starter. I didn't have any of the special ingredients listed in the recipe so I used the common household alternatives and they were absolutely perfect. My hubby keeps asking me to make more.
Beautifully crispy outside, fluffy and light inside, these waffles are the best I've ever made for sure. They freeze really well, too. They do require you to plan ahead and make the sponge the night before, but then in the morning you're basically ready to bake (you just add eggs and butter before baking).
Do you have favorite sourdough recipes? If you do, I'd love to hear from you! Please share!
Write a comment